So I came up with an idea to make my own tenugui.
Tenugui are the small hand towels used as head covering in kendo.
I had an unopened gocco printer lying around that I purchased in 2007 and decided it was high time to dust off the box and break open the packaging.
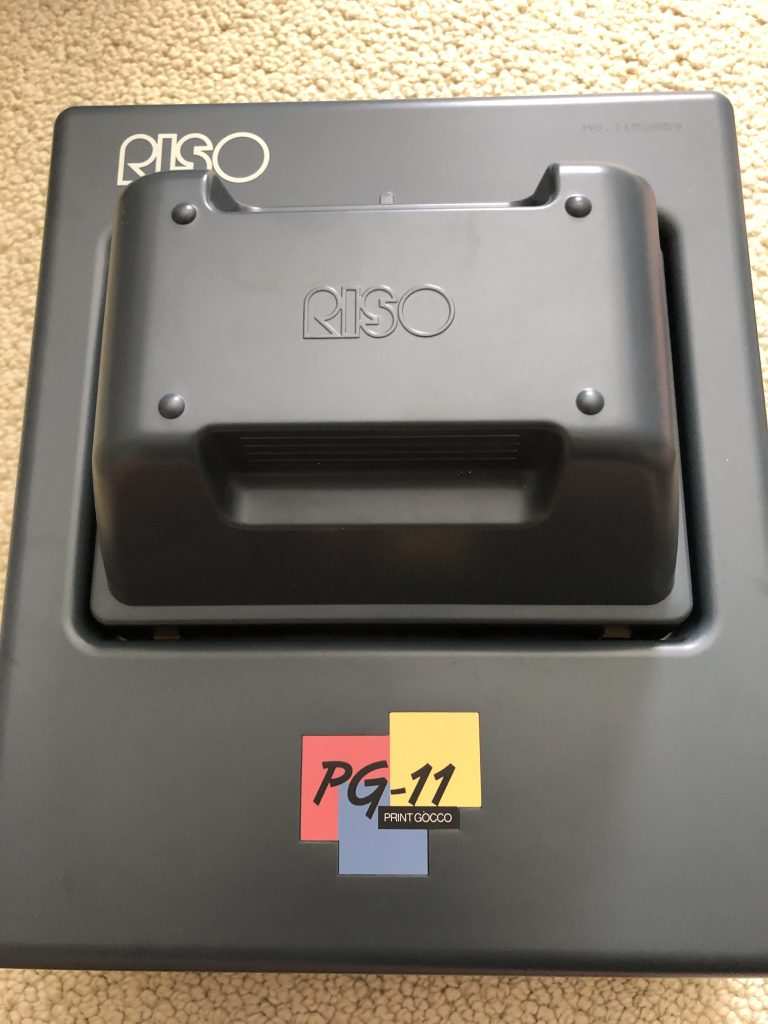
RISO Print Gocco’s are miniature printing presses first invented in 1977 by Noboru Hayama. It uses mini screen meshes coated with an impermeable material. When the screen is placed on a carbon ink containing original (like a photocopy) and exposed to use-once proprietary flash bulbs, this melts the impermeable material allowing ink to pass through the screen.
Unfortunately, RISO does not support this printer anymore and the supplies (flash bulbs and screens) can only be obtained third party. These supplies are in dwindling numbers.
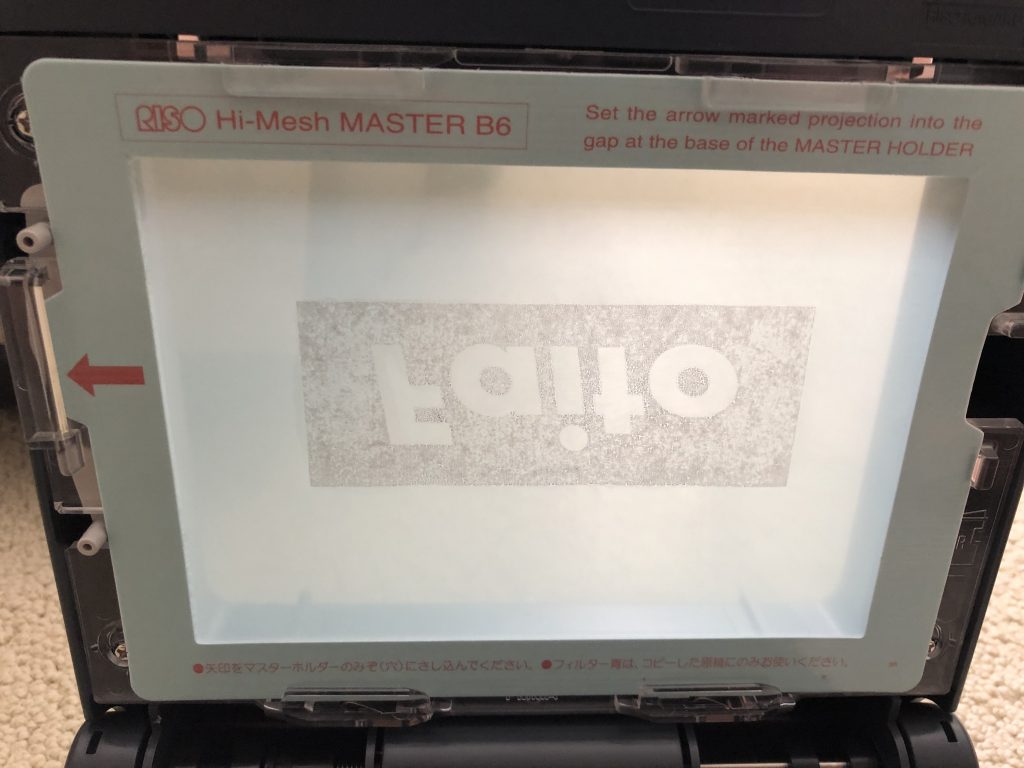
The screen doesn’t show a uniform background and appears weathered probably because the original copy was from an inkjet printer and not from a photocopier. I guess there is less carbon pigment in printer ink than in toner.
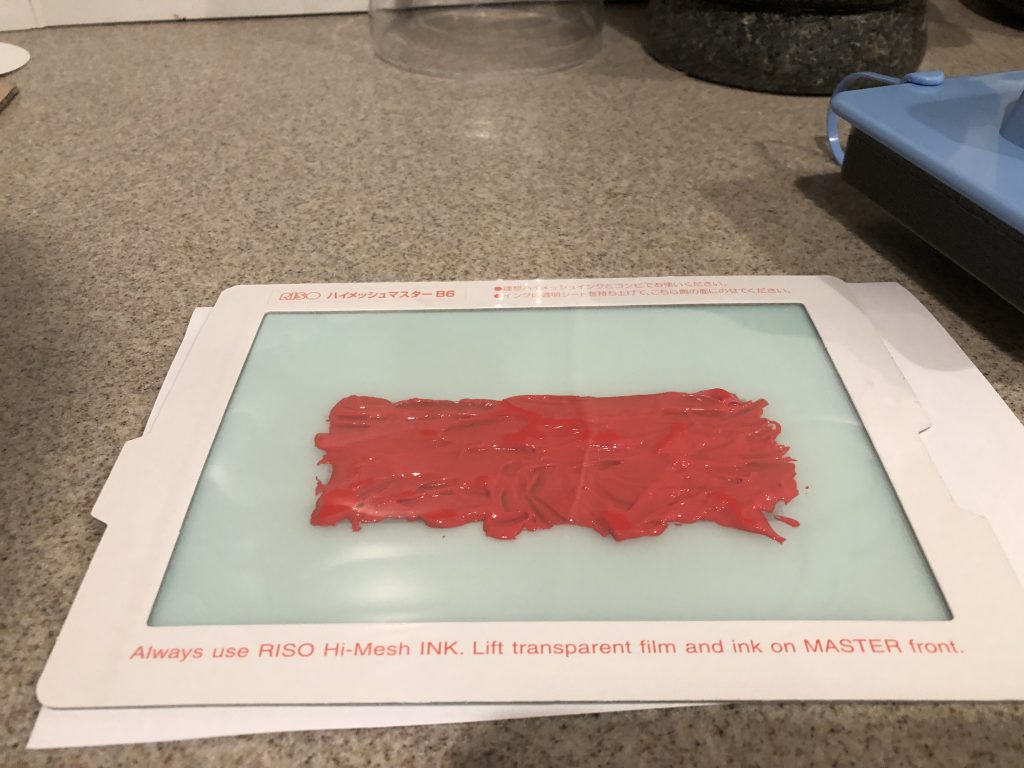
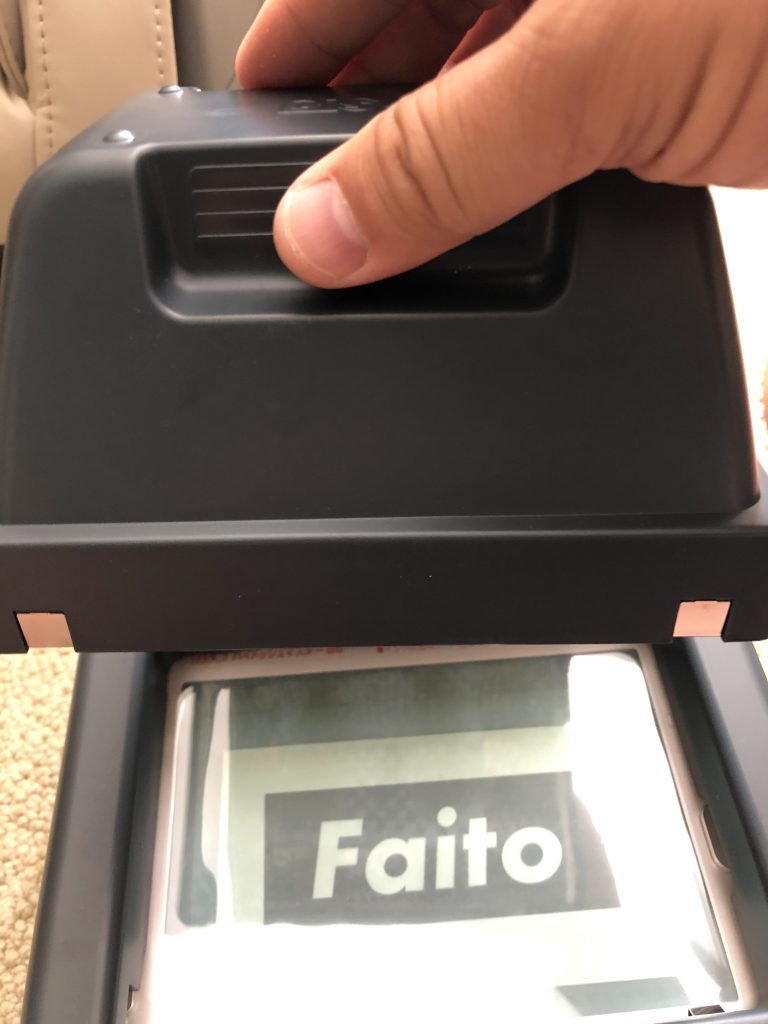
The screen has a protective film. The screen is attached to a handstamp (on the right).
Overall the process took me several hours from cutting the original fabric down from a 10 meter bolt (about 394 inches) to about 39-40 inch lengths of cotton fabric. From there the towels were finished with a rotary cutter because my initial scissor cuttings were jagged.
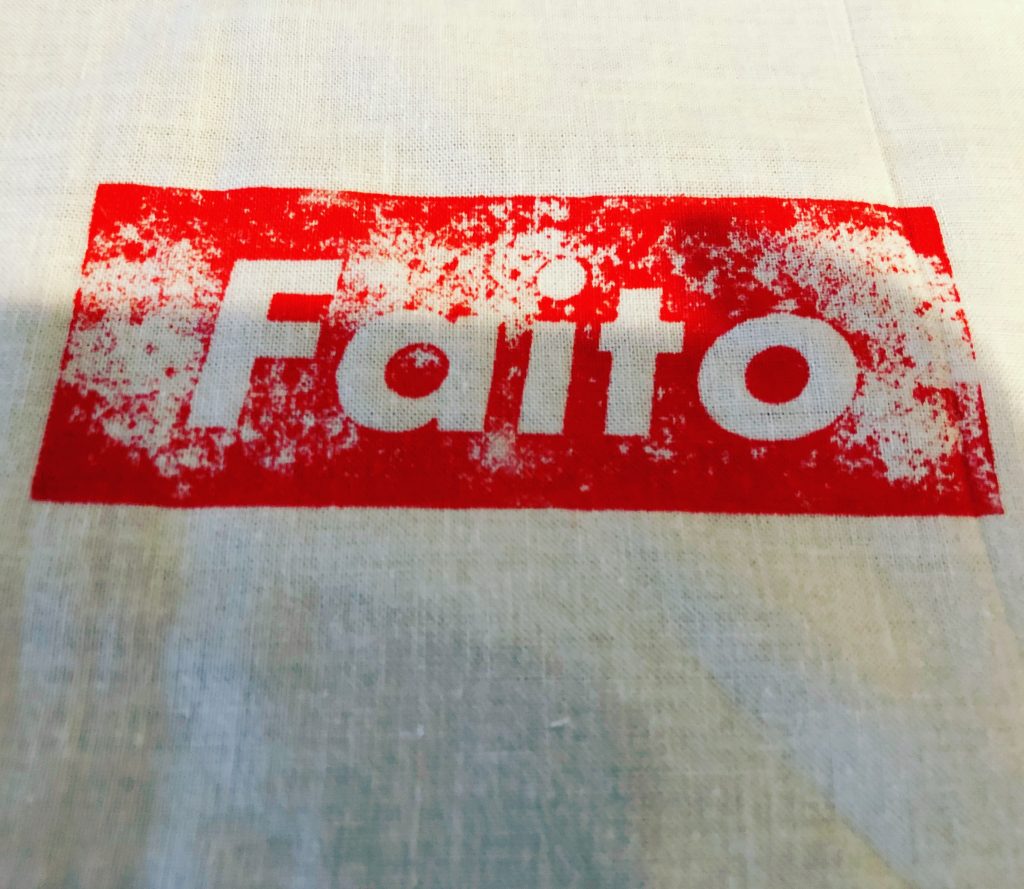
The faito logo was printed from my original design. Placed in the printer. A screen was developed a total of three times. The first time I followed the directions and used the included blue filter which only served to burn the image into the filter rather than the screen. The process was repeated without the filter but this time because I didn’t trim the paper and instead folded it to fit the printer stage, the crease shadows from the folded paper showed up on the screen. Finally, a fresh image was made and cut to size and a second screen was flashed and developed.
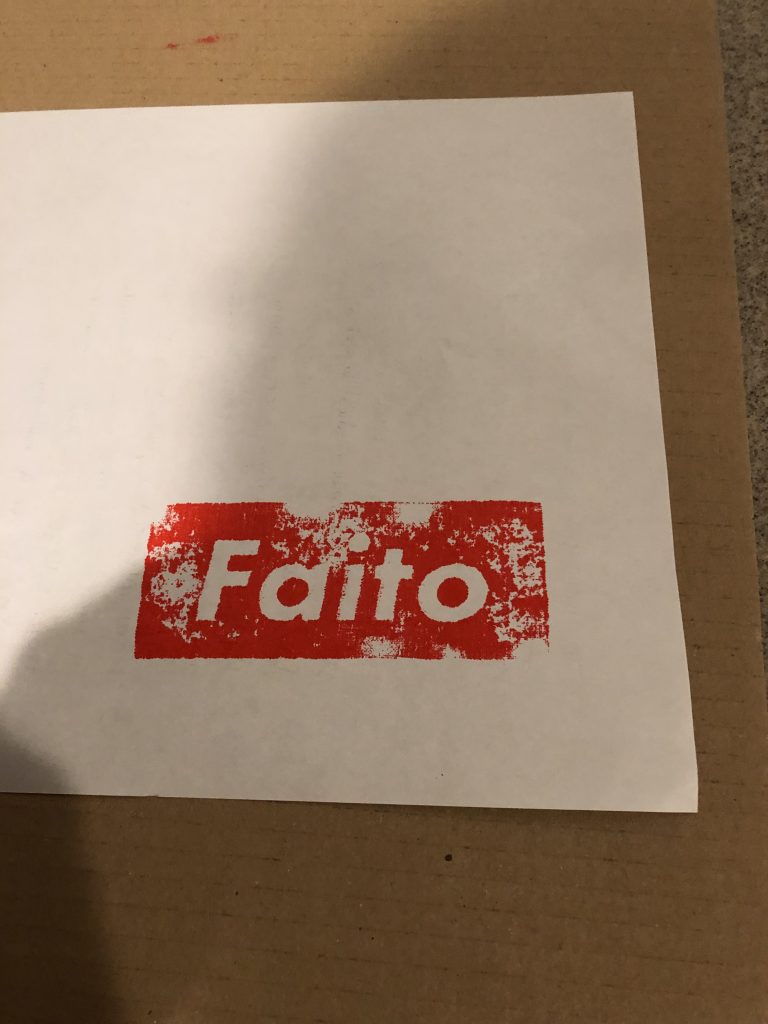
The screen was inked, attached to the hand stamp and tested on a sheet of paper. Thankfully, I had a piece of cardboard underneath the paper as the ink leaked through the paper (and also leaked through the fabric). I had to use papers on the cardboard to block the previous ink that seeped through onto the cardboard as it could ruin the underside of the towels with errant ink marks. The screen was also re-inked due to too light prints.
After all the towels were stamped, they were dried over night. Then ironed to set the ink. And then placed in the washer on cold permanent press.
The towels were then removed. Ironed. Loose threads were removed from frayed ends by scissor. Then the towels were re-ironed and folded.
The prints have a weathered and distressed look and can be purchased on the etsy shop.