Now available in our etsy store.
So I came up with an idea to make my own tenugui.
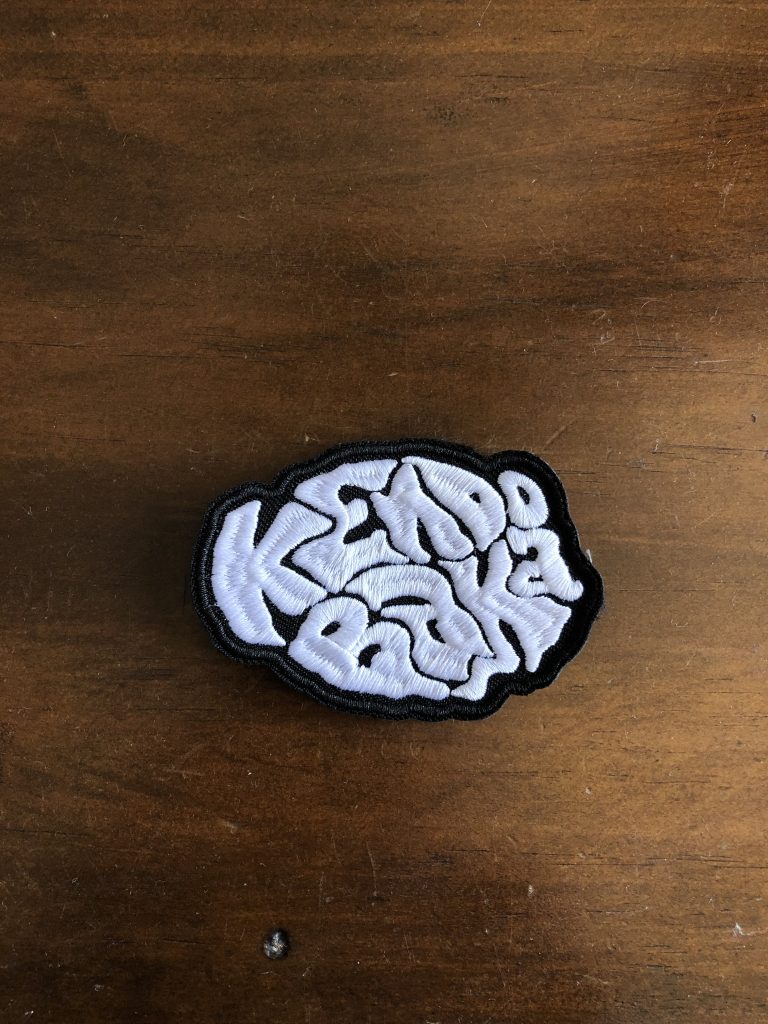
Tenugui are the small hand towels used as head covering in kendo.
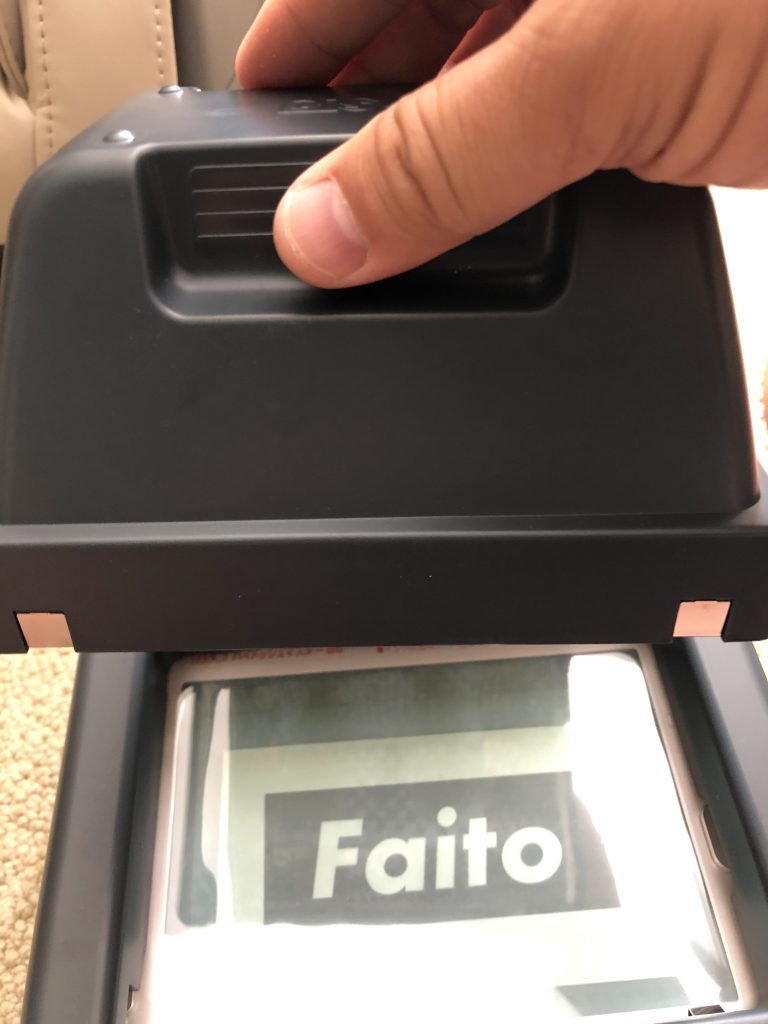
I had an unopened gocco printer lying around that I purchased in 2007 and decided it was high time to dust off the box and break open the packaging.
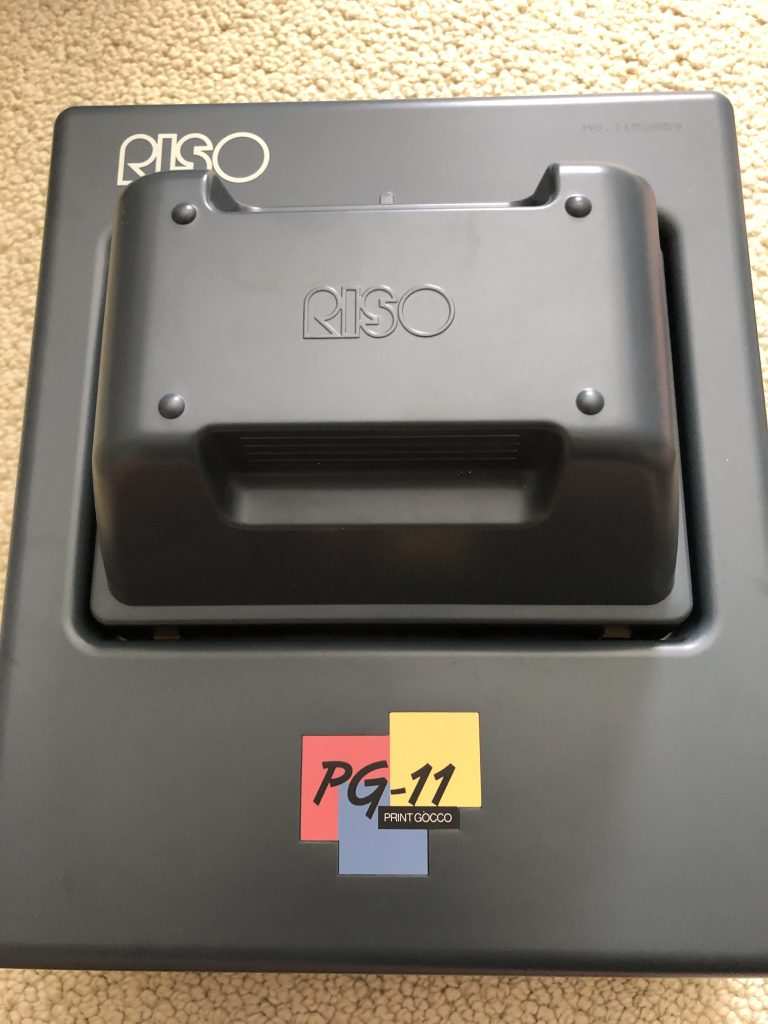
RISO Print Gocco’s are miniature printing presses first invented in 1977 by Noboru Hayama. It uses mini screen meshes coated with an impermeable material. When the screen is placed on a carbon ink containing original (like a photocopy) and exposed to use-once proprietary flash bulbs, this melts the impermeable material allowing ink to pass through the screen.
Unfortunately, RISO does not support this printer anymore and the supplies (flash bulbs and screens) can only be obtained third party. These supplies are in dwindling numbers.
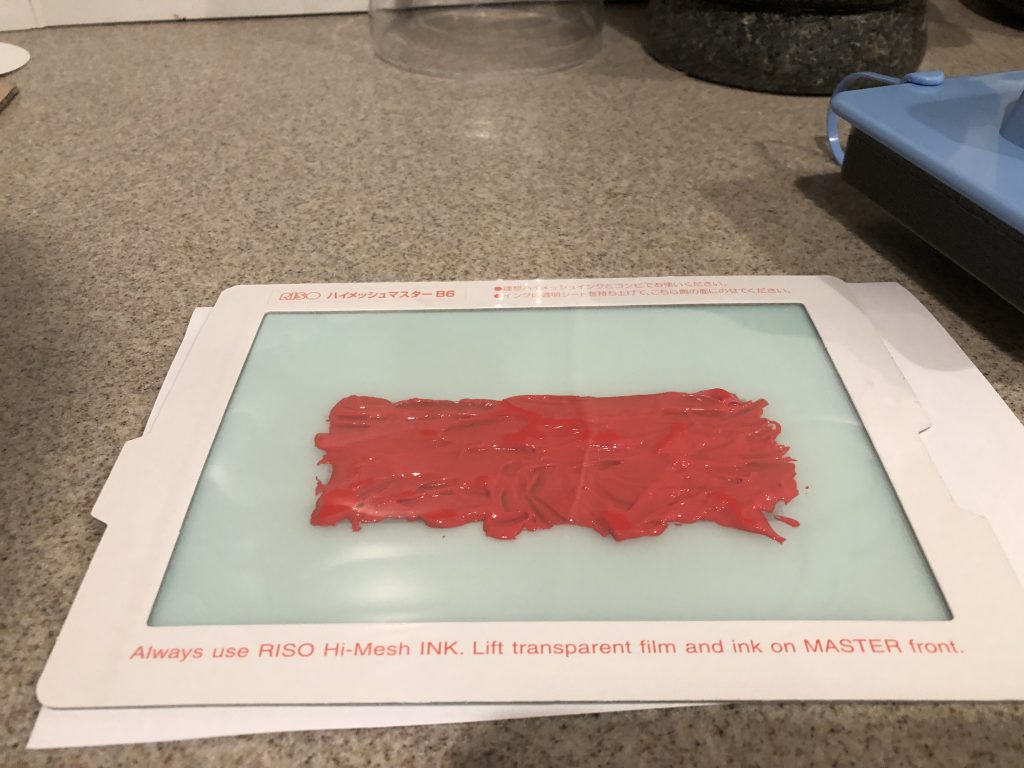
The screen has a protective film. The screen is attached to a handstamp (on the right).
Overall the process took me several hours from cutting the original fabric down from a 10 meter bolt (about 394 inches) to about 39-40 inch lengths of cotton fabric. From there the towels were finished with a rotary cutter because my initial scissor cuttings were jagged.
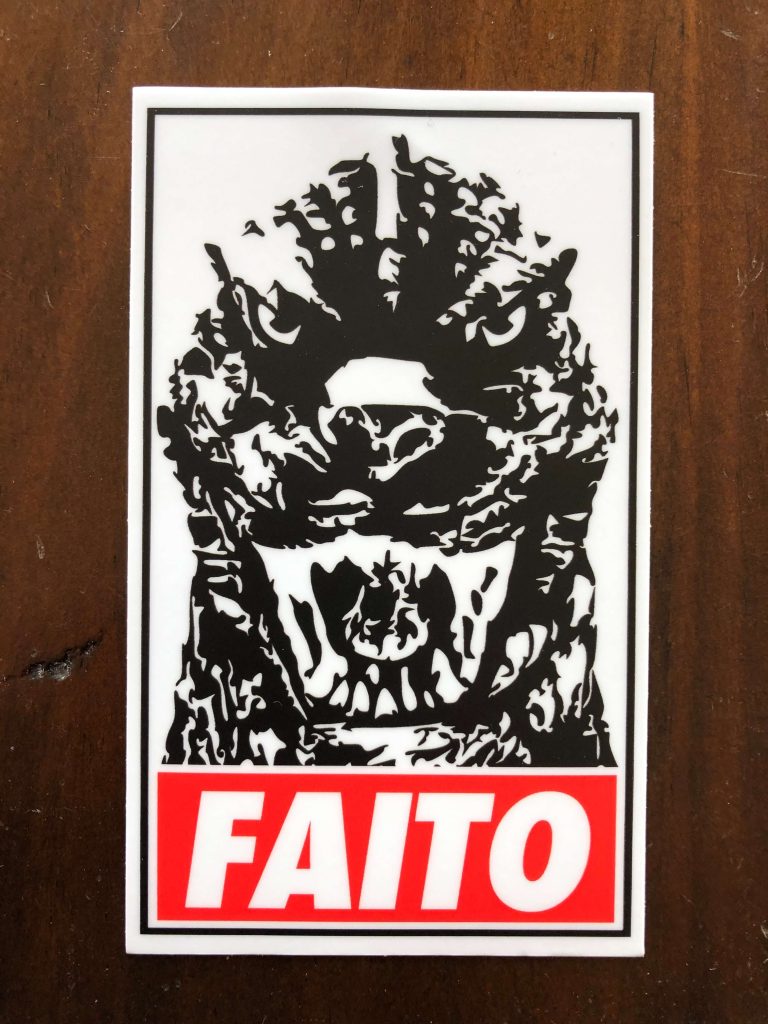
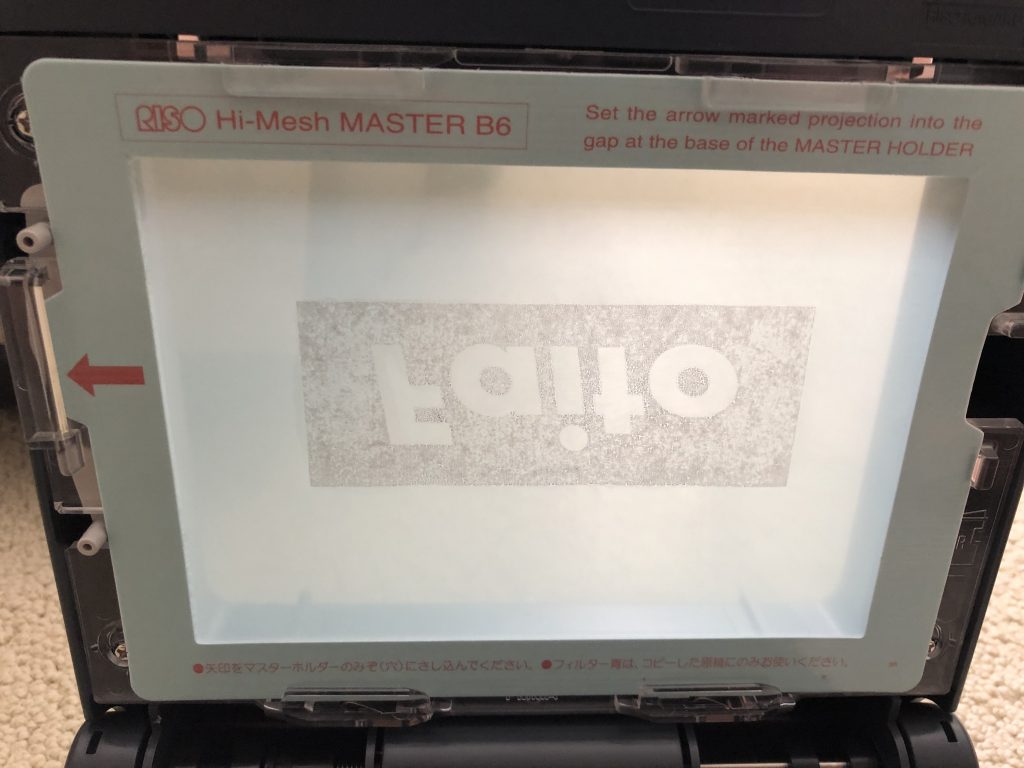
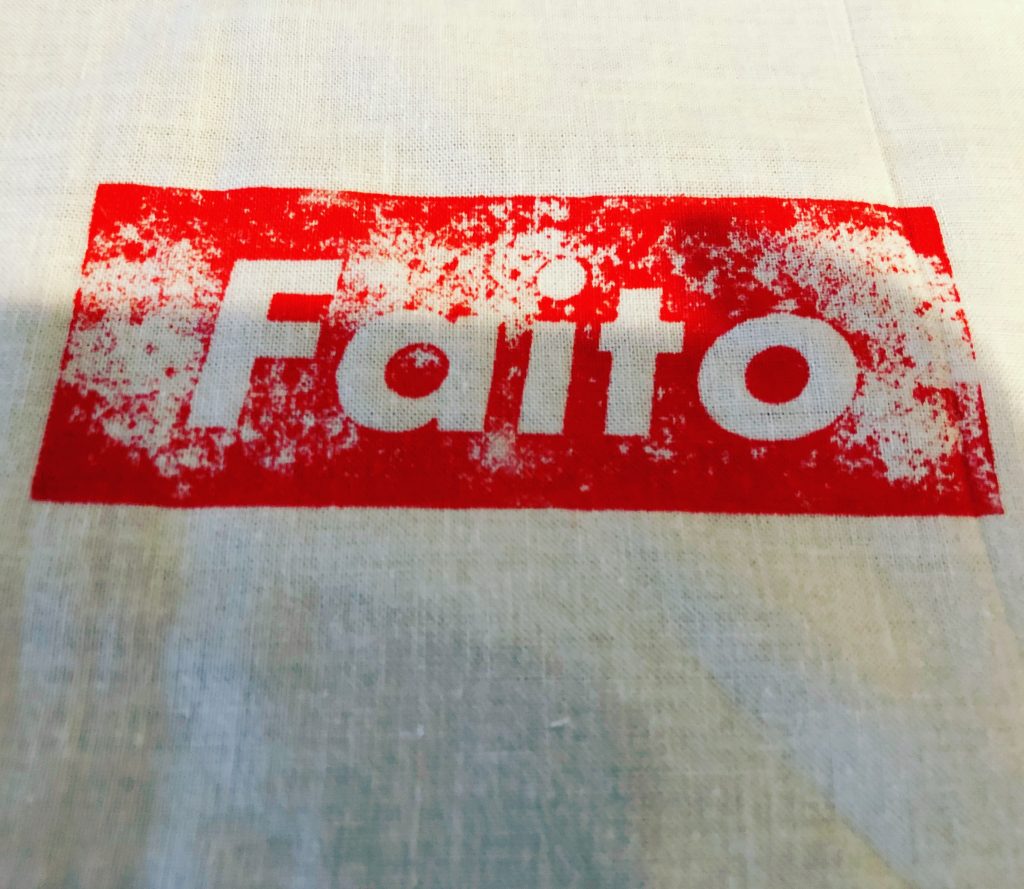
The faito logo was printed from my original design. Placed in the printer. A screen was developed a total of three times. The first time I followed the directions and used the included blue filter which only served to burn the image into the filter rather than the screen. The process was repeated without the filter but this time because I didn’t trim the paper and instead folded it to fit the printer stage, the crease shadows from the folded paper showed up on the screen. Finally, a fresh image was made and cut to size and a second screen was flashed and developed.
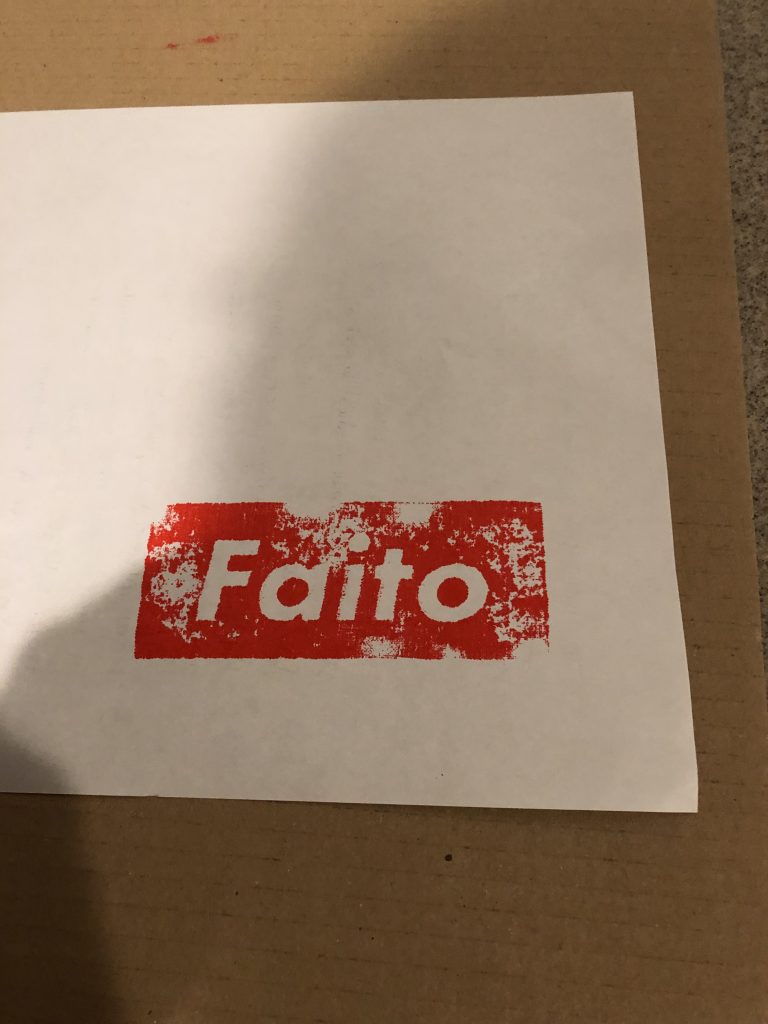
The screen was inked, attached to the hand stamp and tested on a sheet of paper. Thankfully, I had a piece of cardboard underneath the paper as the ink leaked through the paper (and also leaked through the fabric). I had to use papers on the cardboard to block the previous ink that seeped through onto the cardboard as it could ruin the underside of the towels with errant ink marks. The screen was also re-inked due to too light prints.
After all the towels were stamped, they were dried over night. Then ironed to set the ink. And then placed in the washer on cold permanent press.
The towels were then removed. Ironed. Loose threads were removed from frayed ends by scissor. Then the towels were re-ironed and folded.
The prints have a weathered and distressed look and can be purchased on the etsy shop.
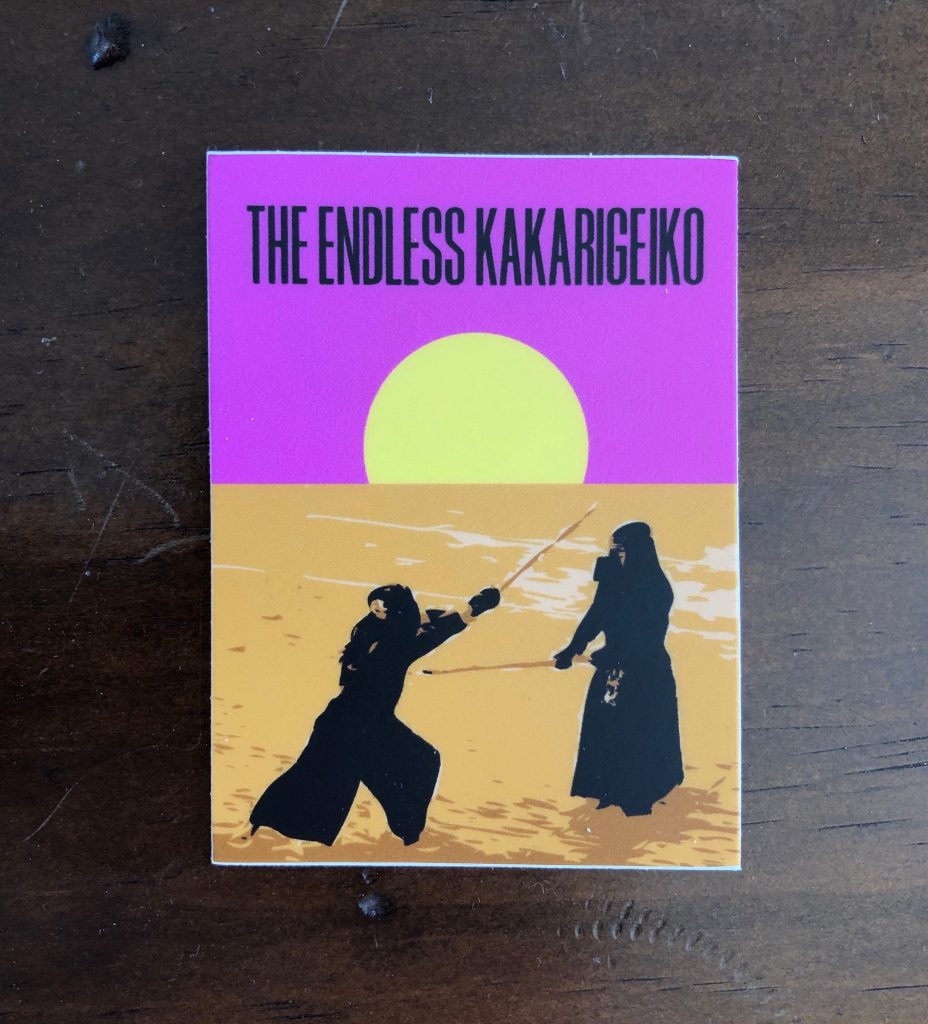
I had these made as an homage to one of the greatest movie posters of all time, the Endless Summer.
This limited run sold out on the first day of posting them to the Etsy shop. I might look into having [some] more made but might tweak the design a little bit.
So if you have a wheeled bag or carry a lot of stuff in the trunk of your car, it’s sometimes nice to protect the finish. Especially if the car is relatively new.
Up until a few weeks ago, I was using a towel, but I recently came across this bumper protector. It’s basically a soft neoprene mat that drapes over the back of your car. It attaches to carpet via Velcro.
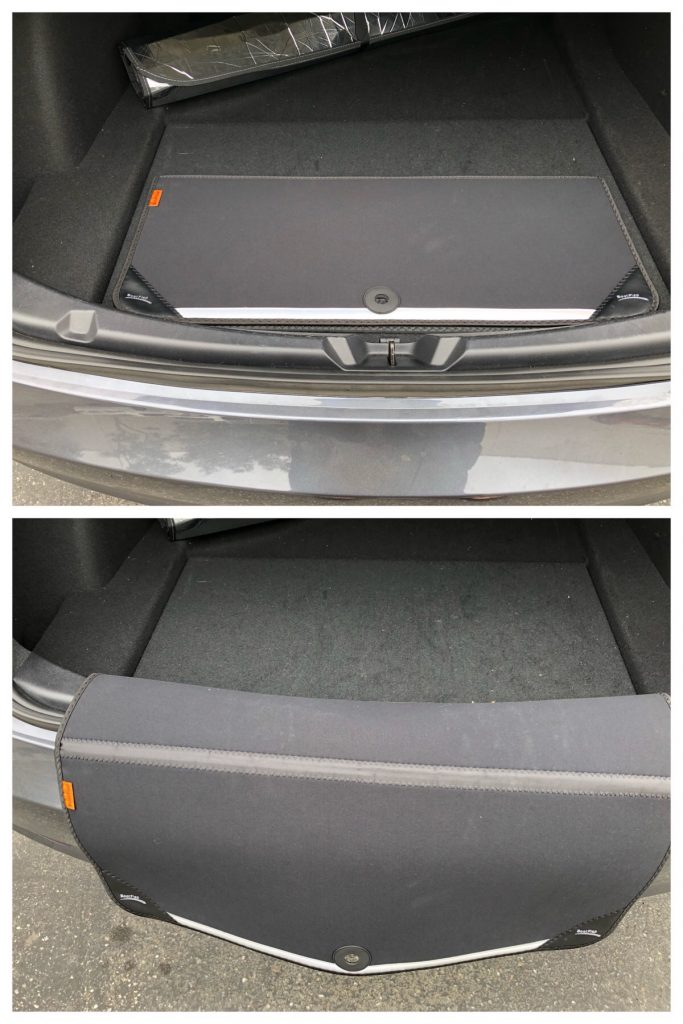
It does the job pretty well. The Velcro, however, does pull on the fibers of the carpet especially if they are weak such as on the model three.
The mat is 29x12in and the perfect width to fit the trunk compartment cover on my model 3.
You can purchase it here >>>> https://www.amazon.com/Boot-Flap-Co-Bumper-Guard/dp/B075LW8WLD

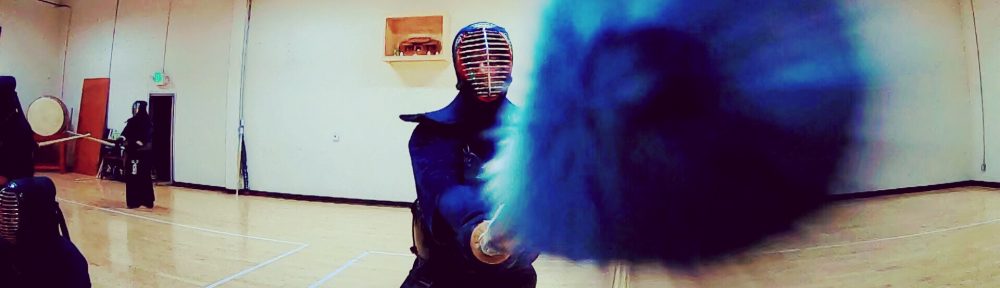
So the GoPro mount turned out to be a better success than I thought.
The problem was trying to convince people to do their regular kendo and not worry about damaging the camera. It’s a GoPro ppl!!!
Some understood and would have happily tsuki-ed me all night long until I had to motion to yamae (I’m talking about you, Simeon and Okura sensei) but others were very timid and ended up just tapping the camera with the tip of the shinai.
The new backpack mount works great as a tsuki mount for GoPro.
It didn’t fall off.
It’s been awhile since I’ve posted a GoPro video.
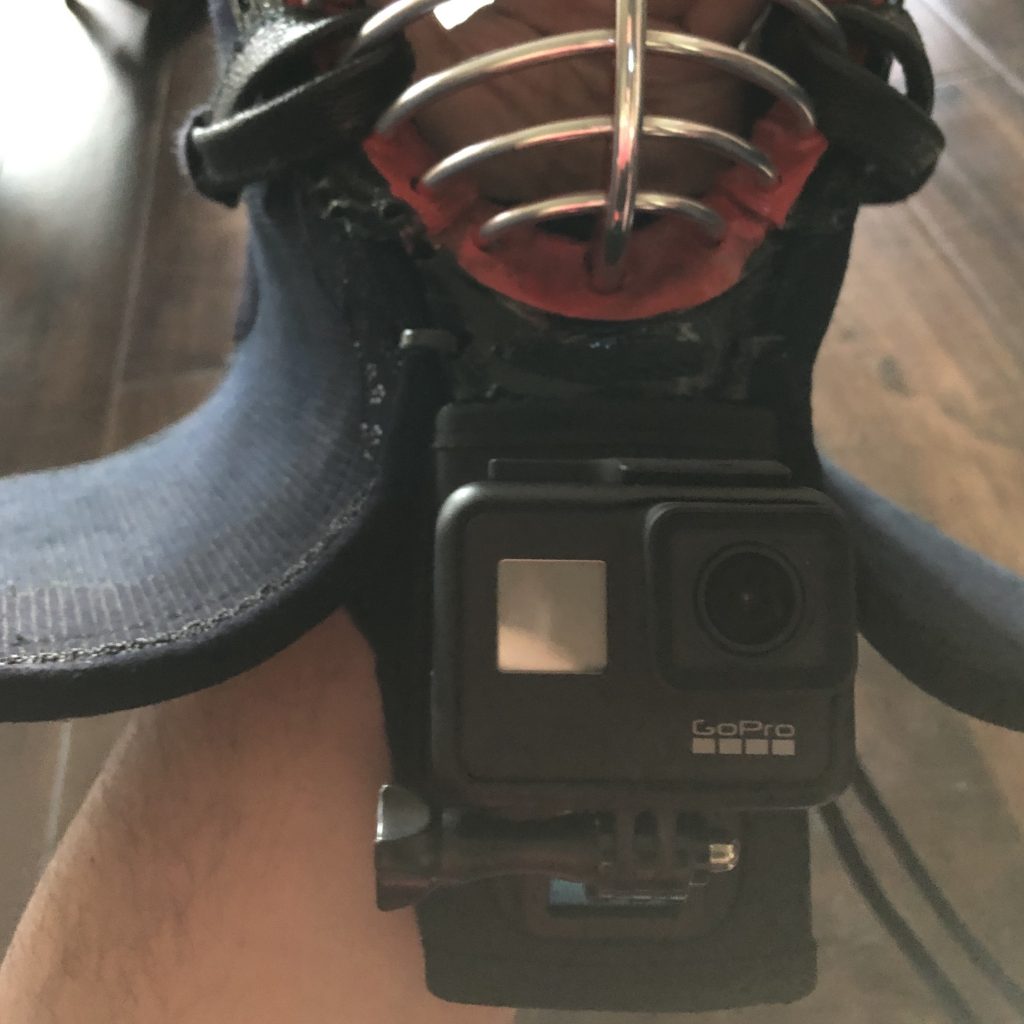
Previously I used the GoPro vented helmet strap to mount the camera to the tsuki flap. However, the strap has these dangly bits and isn’t very secure.
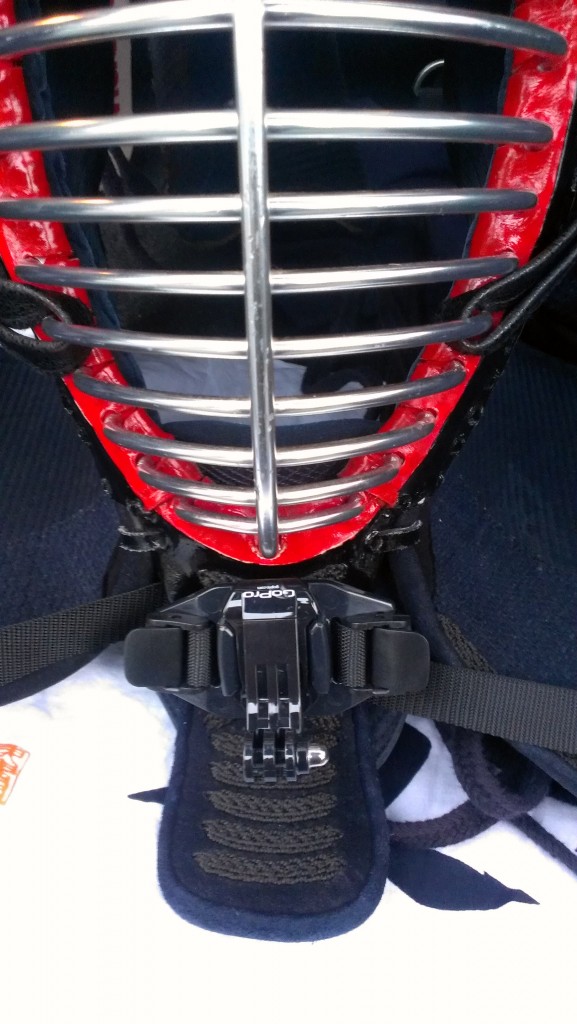
This last weekend I was browsing Amazon for GoPro mounts and I came across this one:
https://www.amazon.com/gp/product/B07HR77DZ7/ref=ppx_yo_dt_b_asin_title_o00_s00?ie=UTF8&psc=1
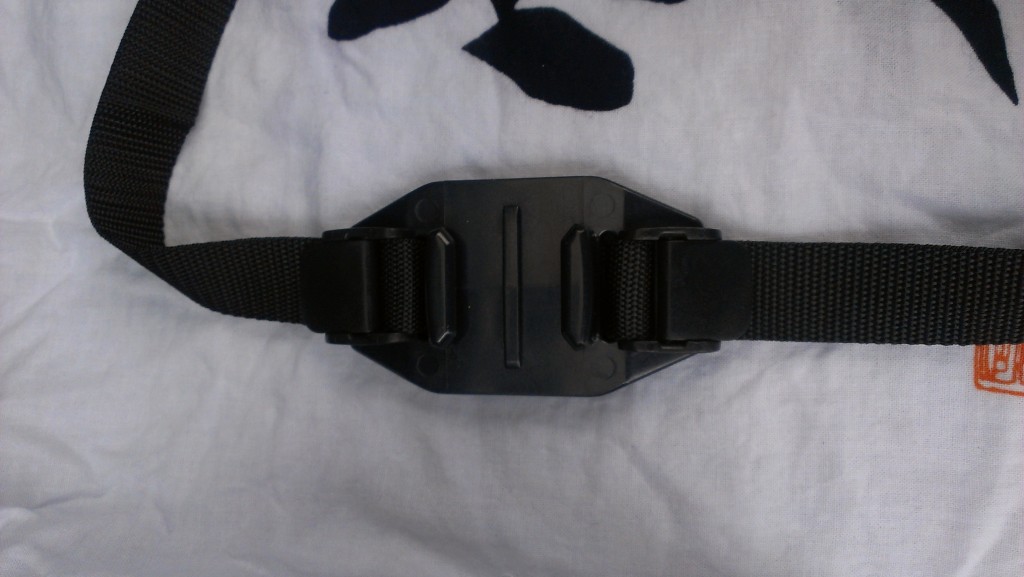
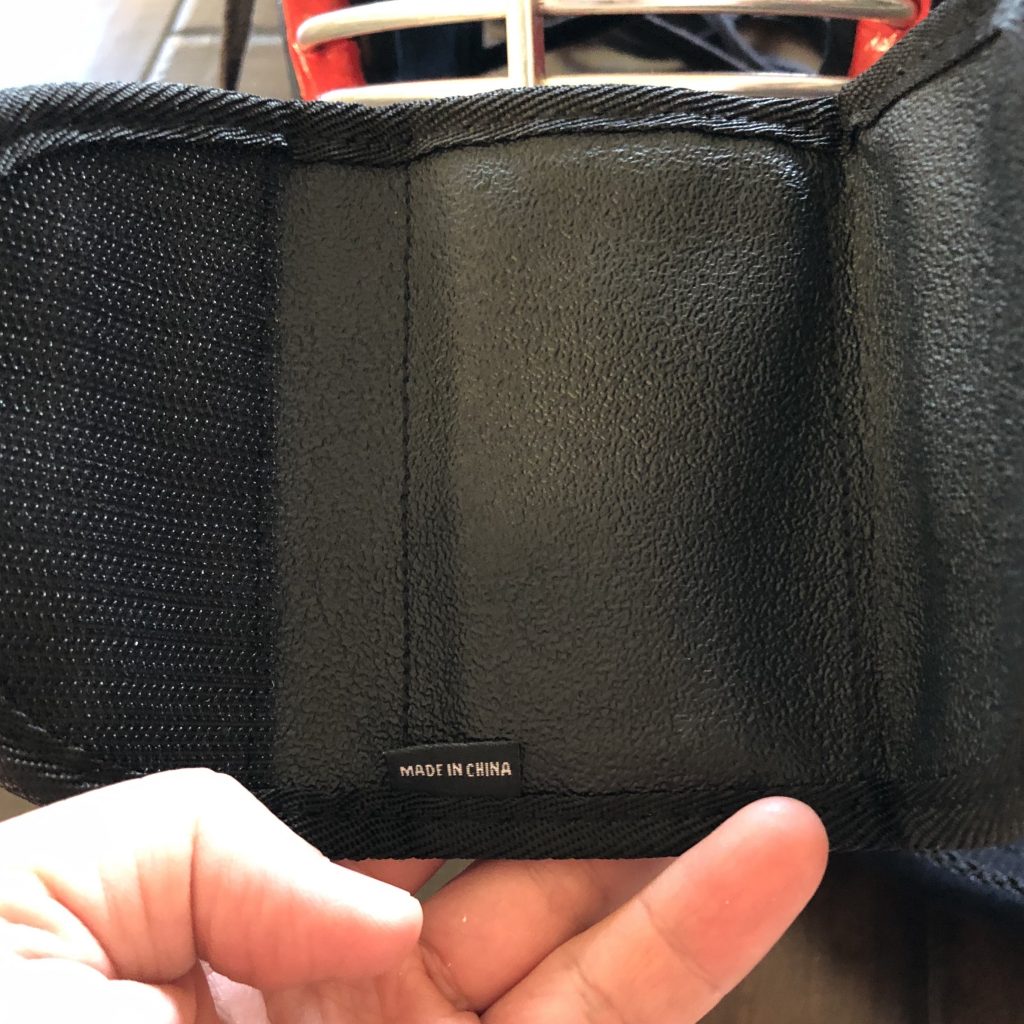
It’s a velcro strap for backpacks.

The inner surface is textured and supposed to be “anti-slip”.
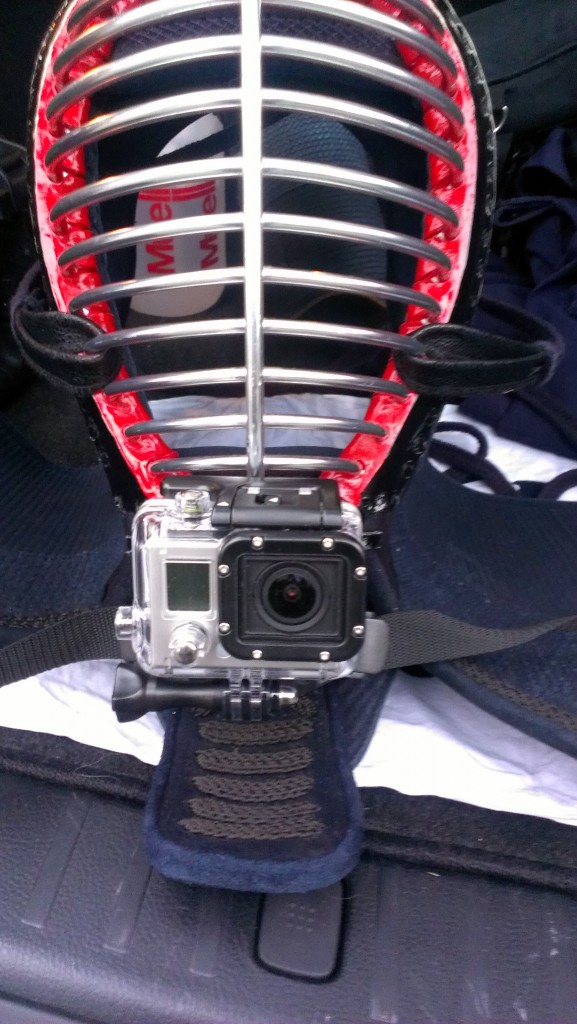
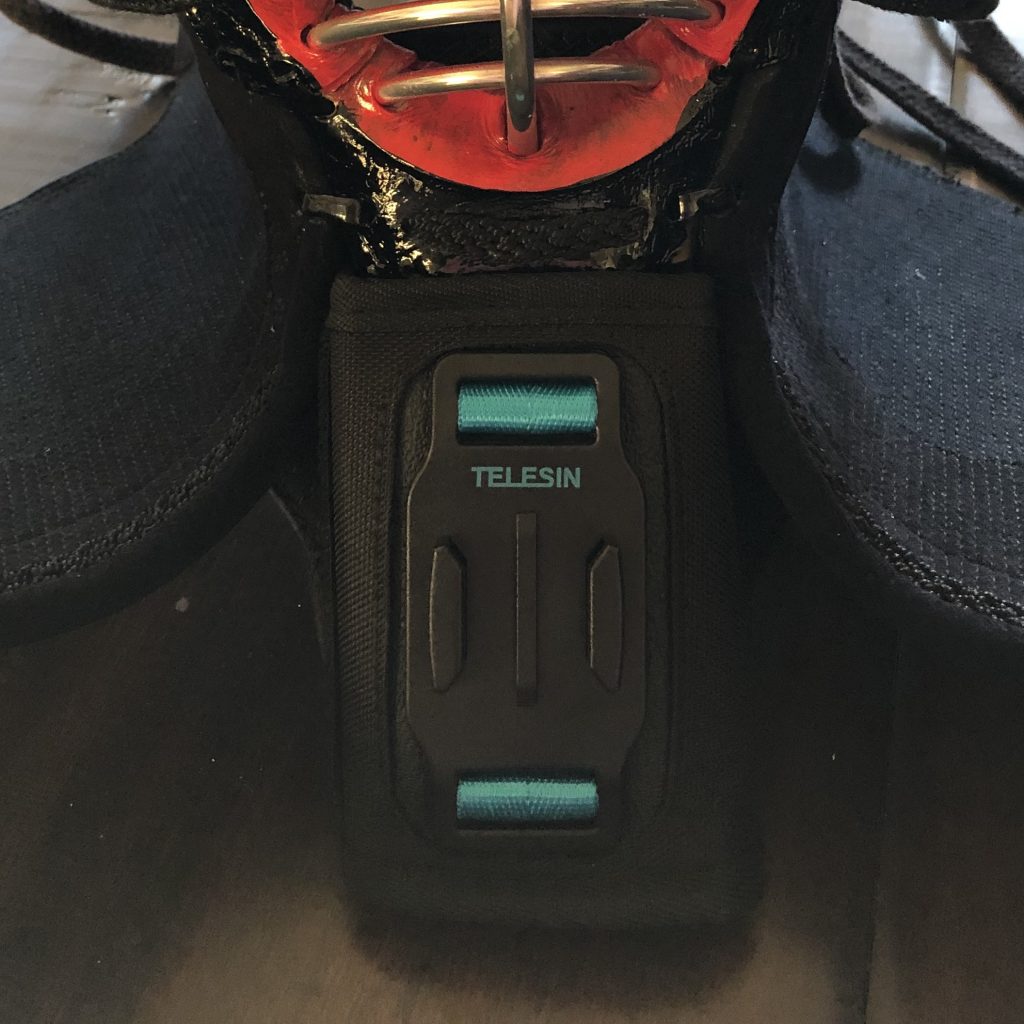
Here it is wrapped around the tsuki flap with the velcro parts between the flap and the protector beneath the tsuki flap.
Using the included J adaptor, the GoPro can be adjusted to be level.
We’ll see how it goes at practice tomorrow.
By continuing to use the site, you agree to the use of cookies. more information
The cookie settings on this website are set to "allow cookies" to give you the best browsing experience possible. If you continue to use this website without changing your cookie settings or you click "Accept" below then you are consenting to this.